Understanding the importance of wall preparation is essential for achieving a flawless paint finish. Even the highest quality paint will not adhere properly or look attractive without the right prep work. Investing time in preparation ensures your final result is smooth, vibrant, and durable. Whether you’re tackling a DIY project or working with a professional painter, proper wall prep makes a significant difference in the outcome of your painting project.
What tools are necessary for wall preparation?
Before applying new paint, gather the right tools to remove old paint and debris. A sturdy scraper is key for peeling or flaking areas, while a wire brush can help loosen stubborn residue.
A bucket of warm, soapy water and a sponge or cloth will take care of dirt and grease. Don’t forget a vacuum or tack cloth to collect any remaining dust particles. Having these tools ready streamlines the process and prevents imperfections from showing through the fresh paint.
Sanding ensures your walls are smooth and free from rough patches. For most walls, start with medium-grit sandpaper (around 120–150 grit) to remove imperfections, then switch to a finer grit (220 or higher) for a polished finish. Sand in gentle, circular motions and avoid pressing too hard, which can damage the surface. Taking time to sand thoroughly creates a smooth base, ensuring your painter or your own efforts produce a flawless result. Primers act as a bonding agent between the wall and paint, especially on patched or repaired surfaces. They improve paint adhesion, cover stains, and enhance the final color. For porous surfaces like drywall or previously unpainted wood, a high-quality primer prevents uneven absorption. Even on previously painted walls, primer can help achieve consistent color and a durable finish.
How to repair damaged walls?
Before painting, inspect your walls for damage such as cracks, holes, or peeling paint. These issues often occur due to settling, humidity, or everyday wear and tear. Identifying and addressing them early prevents imperfections from becoming more noticeable after painting. Use spackle or wall putty to fill small holes or dents. Apply the compound with a putty knife, smoothing it over the damaged area. Once dry, sand the surface gently until it blends seamlessly with the surrounding wall. For larger holes, you may need a patch kit or mesh repair tape for added support. Taking care during this step ensures a seamless surface ready for paint. After repairs are complete, run your hand along the walls to feel for uneven spots. Use a sanding block to level out these areas. Smoothing imperfections before painting eliminates unsightly bumps or ridges that could show through the final coat.
How to ensure walls are clean and dry?
Clean walls are critical for proper paint adhesion. Dust, grease, or smoke residue can prevent paint from sticking. Wash the walls with mild detergent and water, rinse thoroughly, and allow them to dry. For areas exposed to heavy grease, such as kitchens, a degreaser may be necessary. Moisture trapped in walls can ruin your paint job by causing bubbling or peeling. Allow sufficient time for walls to air dry after cleaning. If humidity levels are high, consider using fans or a dehumidifier to speed up the drying process. A moisture meter can be a valuable tool for checking if your walls are ready for paint. Simply press the device against the wall to gauge moisture levels. Ensuring your walls are completely dry helps your painter or DIY effort achieve a smooth and lasting finish.
Should you apply a base coat before painting?
A base coat is not the same as a primer, though both play important roles. While primer helps paint adhere to the wall, a base coat provides a uniform surface that enhances color vibrancy. Applying a base coat improves paint coverage, especially when changing from a dark to a light color or vice versa. It helps the final color look more vivid and extends the life of your paint job. Use a base coat when making drastic color changes or when painting over patched walls. This step is especially helpful if you want the new color to appear rich and consistent without multiple top coats.
How to protect room features during wall preparation?
Before starting, protect your floors and furniture with drop cloths. Secure them so they don’t shift while you work. This simple step saves time on cleanup and keeps your belongings safe from dust or paint splatters. Use painter’s tape to protect edges, trim, and baseboards. Apply the tape carefully to ensure straight lines and a crisp border when you remove it. This attention to detail gives your finished walls a professional appearance. Remove outlet and switch covers or cover them with tape or plastic. This prevents paint from seeping into electrical components and keeps your painting job neat.
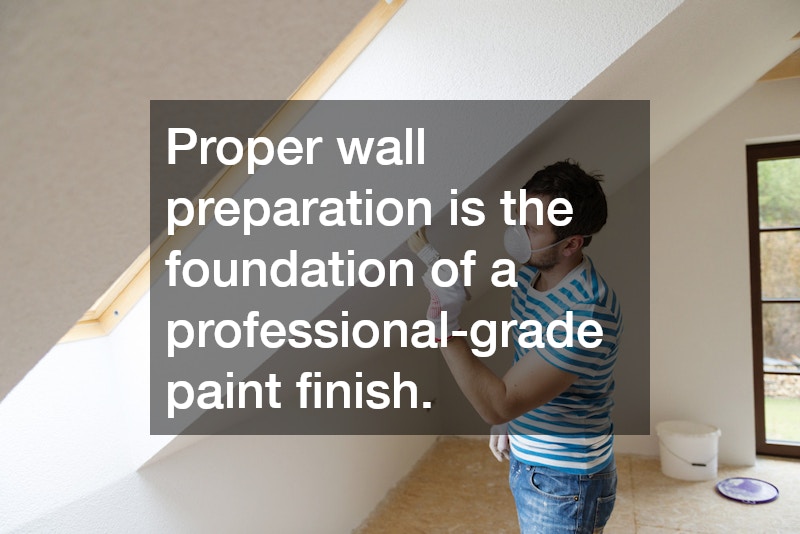
Proper wall preparation is the foundation of a professional-grade paint finish. By taking the time to gather the right tools, repair damage, clean thoroughly, and apply necessary primers or base coats, you set the stage for long-lasting, beautiful results. Protecting your room features and ensuring every surface is smooth and dry guarantees a result that will stand the test of time. Whether you are working on your own or collaborating with a skilled painter, thorough preparation is an investment that pays off with vibrant, durable walls that refresh and revitalise any room.


